Kotlin’s Sealed Interfaces & The Hole in The Sealing
Sealed interfaces were just introduced in Kotlin 1.5 and are a very powerful new feature. But with great power comes great responsibility, so we need to learn when to use and when to not use this newly achieved power. In order to understand sealed interfaces and their use cases, let’s accompany our cute little QuickBirdTM on a journey!

Why Sealed?
Product Types ✖️
Our QuickBird is one of those who like to brag about all the places they’ve been to in the world. So let’s provide him with the API onJourneyFinished where he’ll get a certificate as a reward if the journey was successful. Otherwise, he’ll get a failure. If we use a product type to implement this API, it could look like this:
object SuccessfulJourneyCertificate
object JourneyFailed

fun onJourneyFinished(
    callback: (
         certificate: SuccessfulJourneyCertificate?,
         failure: JourneyFailed?
    ) -> Unit
) {
    // Save callback until journey has finished
}
The callback defines two parameters:
- a certificate, which is not
nullafter a successful journey, - and a failure, which is not
nullif the journey fails.
The QuickBird can then use our API like this:
fun journey() {
    onJourneyFinished { certificate, journeyFailed ->
        rest()

        when {
            certificate != null && journeyFailed == null ->
                bragWithCertificate(certificate)
            certificate == null && journeyFailed != null ->
                restartJourney(reason = journeyFailed)
            else -> {
                // How to handle the other cases?!
            }
        }
    }

    // Let's go on a journey!
}
In any case, QuickBird first needs to rest a bit after the tiring journey. Afterward, he either wants to brag with his new certificate, or if the journey failed he wants to start from the beginning and try it again. He checks if the certificate is not null and the failure is null or the certificate is null and failure not. But suddenly he realizes that there are two more cases and he doesn’t know how to handle them: What if the certificate and the failure are both available or both null? We didn’t provide any documentation where he could check if these cases can even occur.
Such an input pair is called a product type. And here is why:
To determine the number of possible cases that this pair can assume, we need to multiply the possible cases of the two types in this pair. The certificate can be null or non-null and has consequently 2 possible cases. The same holds also for the failure type, so the pair has 2 * 2 = 4 possible cases. But two of them make no sense, so they shouldn’t exist in the first place!
Sum Types For The Win! ➕
One way to solve this problem would be to provide two callbacks: one for the success case and one for the failure case. But then QuickBird would need to call the rest function in both of these callbacks and he really hates redundant code. To avoid this problem, let’s construct an API based on a sum type instead by using a sealed class:
sealed class JourneyResult

object SuccessfulJourneyCertificate: JourneyResult()
object JourneyFailed : JourneyResult()

fun onJourneyFinished(
    callback: (result: JourneyResult) -> Unit
) {
    // Save callback until journey has finished
}

fun journey() {
    onJourneyFinished { result ->
        rest()

        when(result) {
            is JourneyFailed ->
                restartJourney(result)
            is SuccessfulJourneyCertificate ->
                bragWithCertificate(result)
            // No other cases left! 😊
        }
    }

    // Let's go on a journey!
}
We created the sealed class JourneyResult with the certificate and the failure as its cases. Since both the certificate and the failure are objects, each one of them accounts for only 1 possible case, so in total, we have 1 + 1 = 2 cases. We got rid of the two unnecessary cases! 🎉 QuickBird can now switch exhaustively on the result and either restart his journey or brag with his new certificate.
In this simple example, we merely reduced the possible cases by 2, but just imagine we would have 5 different kinds of certificates and 4 different failure types! We would end up with 5 * 4 = 20 possible cases when using a product type as opposed to 5 + 4 = 9 cases with a sum type. This can quickly get out of control. With a sum type, our QuickBird enjoys fewer cases and our API implementation becomes less prone to errors because the compiler prohibits invalid cases.
ℹ️ If you like our idea of a sealed class as a result type, you will probably also like its generalization to an either type, which we explain in this article.
Sealed Class vs. Enum Class ⚔️
Why didn’t we simply use a good old enum for the journey result? When using a sum type, we should always consider an enum first as it produces less overhead than a sealed class or an interface. However, it also lacks some features:
The first limitation is that we cannot define specific functions for different cases of an enum. This is possible with sealed classes as their cases are classes or objects themselves. In our example, restartJourney only accepts the failure case and bragWithCertificate only works with a certificate. We don’t need to switch again in the implementations of these functions.
A second argument for sealed classes is that the data types inside their cases can differ. For example, a certificate could contain a string description of how well QuickBird performed on his adventure and the failure could contain an integer as an error code. That’s not possible with enums as both types would need to be the same. And if we want to decide on the type of data inside a case using generics, we sadly can’t use enums either.
Why Do We Need Sealed Interfaces?
We’ve just seen why sealed classes can come in handy. But what do we need sealed interfaces for? In case our QuickBird gets lost on his journey, we want to provide him with some navigation instructions. Let’s introduce a sealed class Direction for that with four cases:
sealed class Direction

object Up    : Direction()
object Down  : Direction()
object Left  : Direction()
object Right : Direction()
We call the following function to tell QuickBird where to go and he implements it as follows:
fun move(direction: Direction) = when(direction) {
    Up -> flyHigher()
    Down -> flyLower()
    Left -> turnLeft()
    Right -> turnRight()
}
Suddenly, QuickBird’s left wing starts hurting very badly because of yesterday’s COVID vaccination. He needs to land and continue on foot. So from now on, we can only provide him with horizontal navigation instructions: he can either go left or right, but no longer up or down.
Let’s introduce two new sealed classes for this purpose: HorizontalDirection and VerticalDirection, with the two respective cases. Of course, we don’t want to abandon our general Direction sealed class. We hope for the best and assume that QuickBird will be able to fly again tomorrow! 💪
Here, we hit a limitation of sealed classes: A sealed class is a special form of an abstract class and subclasses can only inherit from a single abstract class. Thus, the following code will not compile:
sealed class Direction
sealed class HorizontalDirection
sealed class VerticalDirection

object Up    : Direction(), VerticalDirection()   ⚡️
object Down  : Direction(), VerticalDirection()   ⚡️
object Left  : Direction(), HorizontalDirection() ⚡️
object Right : Direction(), HorizontalDirection() ⚡️
To overcome this limitation for general abstract classes we would use interfaces. For sealed classes, we now have sealed interfaces for this purpose – and suddenly each direction object can have multiple conformances:
sealed interface Direction
sealed interface HorizontalDirection
sealed interface VerticalDirection

object Up    : Direction, VerticalDirection
object Down  : Direction, VerticalDirection
object Left  : Direction, HorizontalDirection
object Right : Direction, HorizontalDirection
QuickBird can now continue his journey on the ground without being afraid of getting the wrong instruction that would require him to fly:
fun move(direction: HorizontalDirection) = when(direction) {
    Left  -> turnLeft()
    Right -> turnRight()
}
Your Linter Will Love Sealed Interfaces! ❤️
Another cool new feature of sealed interface is that contrary to sealed classes its cases don’t need to be in the same file anymore. It suffices to have them in the same package. With this feature, a sealed interface with many cases doesn’t (necessarily) produce large files that are difficult to read. With sealed interfaces, there are no more excuses for disabling the maximum 150 lines per file linter rule. 😉
What About The Enums? 🤔
A few lines above, we recommended using enums whenever we don’t need the extra features of sealed classes or interfaces. Contrary to sealed classes, sealed interfaces can extend enum classes. Thus, we can simplify our directions model and make both the HorizontalDirection and the VerticalDirection enums implementing the sealed interface Direction:
sealed interface Direction

enum class HorizontalDirection : Direction {
    Left, Right
}

enum class VerticalDirection : Direction {
    Up, Down
}
The cool thing is that nothing changes in terms of how these direction types are used. QuickBird can continue his journey without the need to modify any code.
The Hole in The Sealing 🕳️

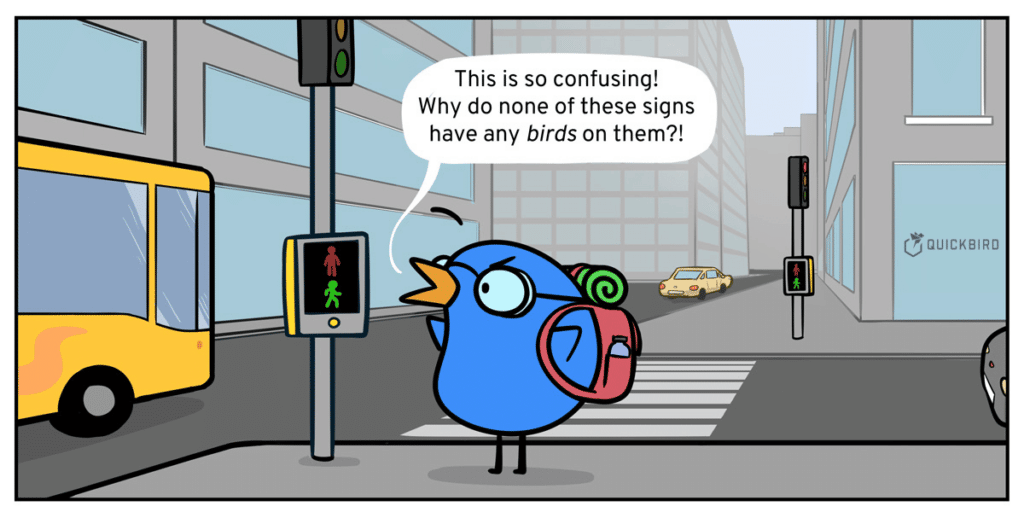
Now that we’ve seen a good use case of sealed interfaces, let’s take a look at an example where sealed interfaces are not a good idea! Our QuickBird’s wing is still hurting, so he continues his journey on foot and reaches a city where the traffic at crossroads is controlled by traffic lights. As he usually travels by air, he doesn’t know what the 3 colors mean. Let’s provide him with a little helper!
We assume that we already have a sealed class that defines all main colors:
sealed class Color {
    object Red:    Color()
    object Blue:   Color()
    object Yellow: Color()
    object Black:  Color()
    object Green:  Color()
    // ...
}
Being hyped about the new sealed interfaces, the first thing that comes to our mind is to create a new sealed interface for the traffic light colors and to extend with the respective (existing) colors accordingly:
sealed interface TrafficLightColor

sealed class Color {
    object Red:    Color(), TrafficLightColor
    object Blue:   Color()
    object Yellow: Color(), TrafficLightColor
    object Black:  Color()
    object Green:  Color(), TrafficLightColor
    // ...
}
We then provide our little helper for the TrafficLightColors only:
val TrafficLightColor.isAllowedToCross
    get() = when(this) {
        Green       -> true
        Red, Yellow -> false
    }
But here we disregarded the Open-Closed-Principle, which states that “software entities (classes, modules, functions, etc.) should be open for extension, but closed for modification”. We extended the Color class with specialized functionality inside its own implementation. Our color module shouldn’t need to know about traffic lights. It would get even worse if we have multiple sealed interfaces containing a certain number of colors. If our QuickBird gets tired and wants to rent a car, there might only be certain colors available for the rental car, so we would need to add another sealed interface CarColor:
sealed interface CarColor

sealed class Color {
    object Red:    Color(), TrafficLightColor, CarColor
    object Blue:   Color(), CarColor
    object Yellow: Color(), TrafficLightColor
    object Black:  Color(), CarColor
    object Green:  Color(), TrafficLightColor
    // ...
}
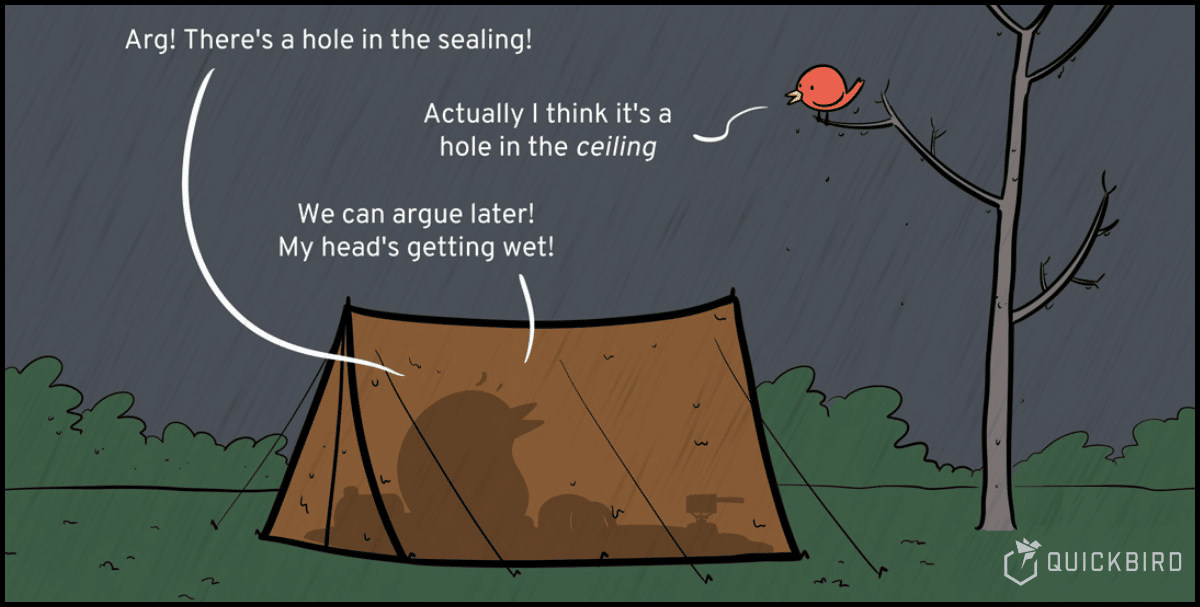
You can see how this could quickly get out of control. To avoid this trap (the “hole in the ceiling”), we always should question if the sealed interface that we are about to introduce has the same or a higher level of abstraction as the implementing case.
⚠️ Interfaces should generalize, not specialize.
The direction cases Up, Down, Left, and Right of the previous example are always (horizontal- or vertical-) directions. So, in this case, the use of a sealed interface is a good idea. However, the color Red is not necessarily always a traffic light color, so the sealed interface TrafficLightColor is a specialization of the color red.
A better implementation for our traffic light colors could look like this:
enum class TrafficLightColor(
    val colorValue: Color
) {
    Red(Color.Red),
    Yellow(Color.Yellow),
    Green(Color.Green)
}
This implementation might seem inferior to the one with a sealed interface as it introduces one new case for each relevant color. But it comes with the advantage that we don’t need to touch our original color module. Instead, we can extend it from the outside. And as such, we conform to the Open-Closed-Principle.
The disadvantage of using a sealed interface for color specializations becomes even more obvious when we assume that the sealed Color class is part of another module, e.g. a library. In this case, it’s not even possible for us to define a new sealed interface and retroactively define conformances to that interface for certain colors. In other words: Using sealed interfaces in such situations makes modularization impossible.
ℹ️ This article from Jorge Castillo is another good example of how to use and not use a sealed interface. In his first example for sealed interfaces, Jorge specializes CommonError with the sealed interfaces LoginError and GetUserError, disregarding the Open-Closed-Principle. In his alternative implementation further down in the article, he directly extends the special error cases with sealed interfaces and thereby closes the hole in the sealing. 😁
Summary 📝
Finally, after having survived all those traffic light crossroads, our QuickBird has reached his destination and finished his journey! He can now brag with his SuccessfulJourneyCertificate 📜🏆.
In this article, we’ve learned about sealed interfaces, a great and powerful new feature in Kotlin. But, more importantly, we’ve also discussed when we should not use them to avoid falling through the “hole in sealing”. Unfortunately, the fix in our example requires us to write some boilerplate code. This could be avoided if some kind of type class was added to Kotlin. One example was already proposed in KEEP-87. If you want to get deeper into the topic, we have another article for you that discusses this proposal in detail: How KEEP-87 & Typeclasses will change the way we write Kotlin.
What are your experiences with sealed interfaces? Tell us your opinion on Twitter! And if you have any open questions, thoughts or ideas, feel free to get in touch with us! Thanks for reading! 🙏

